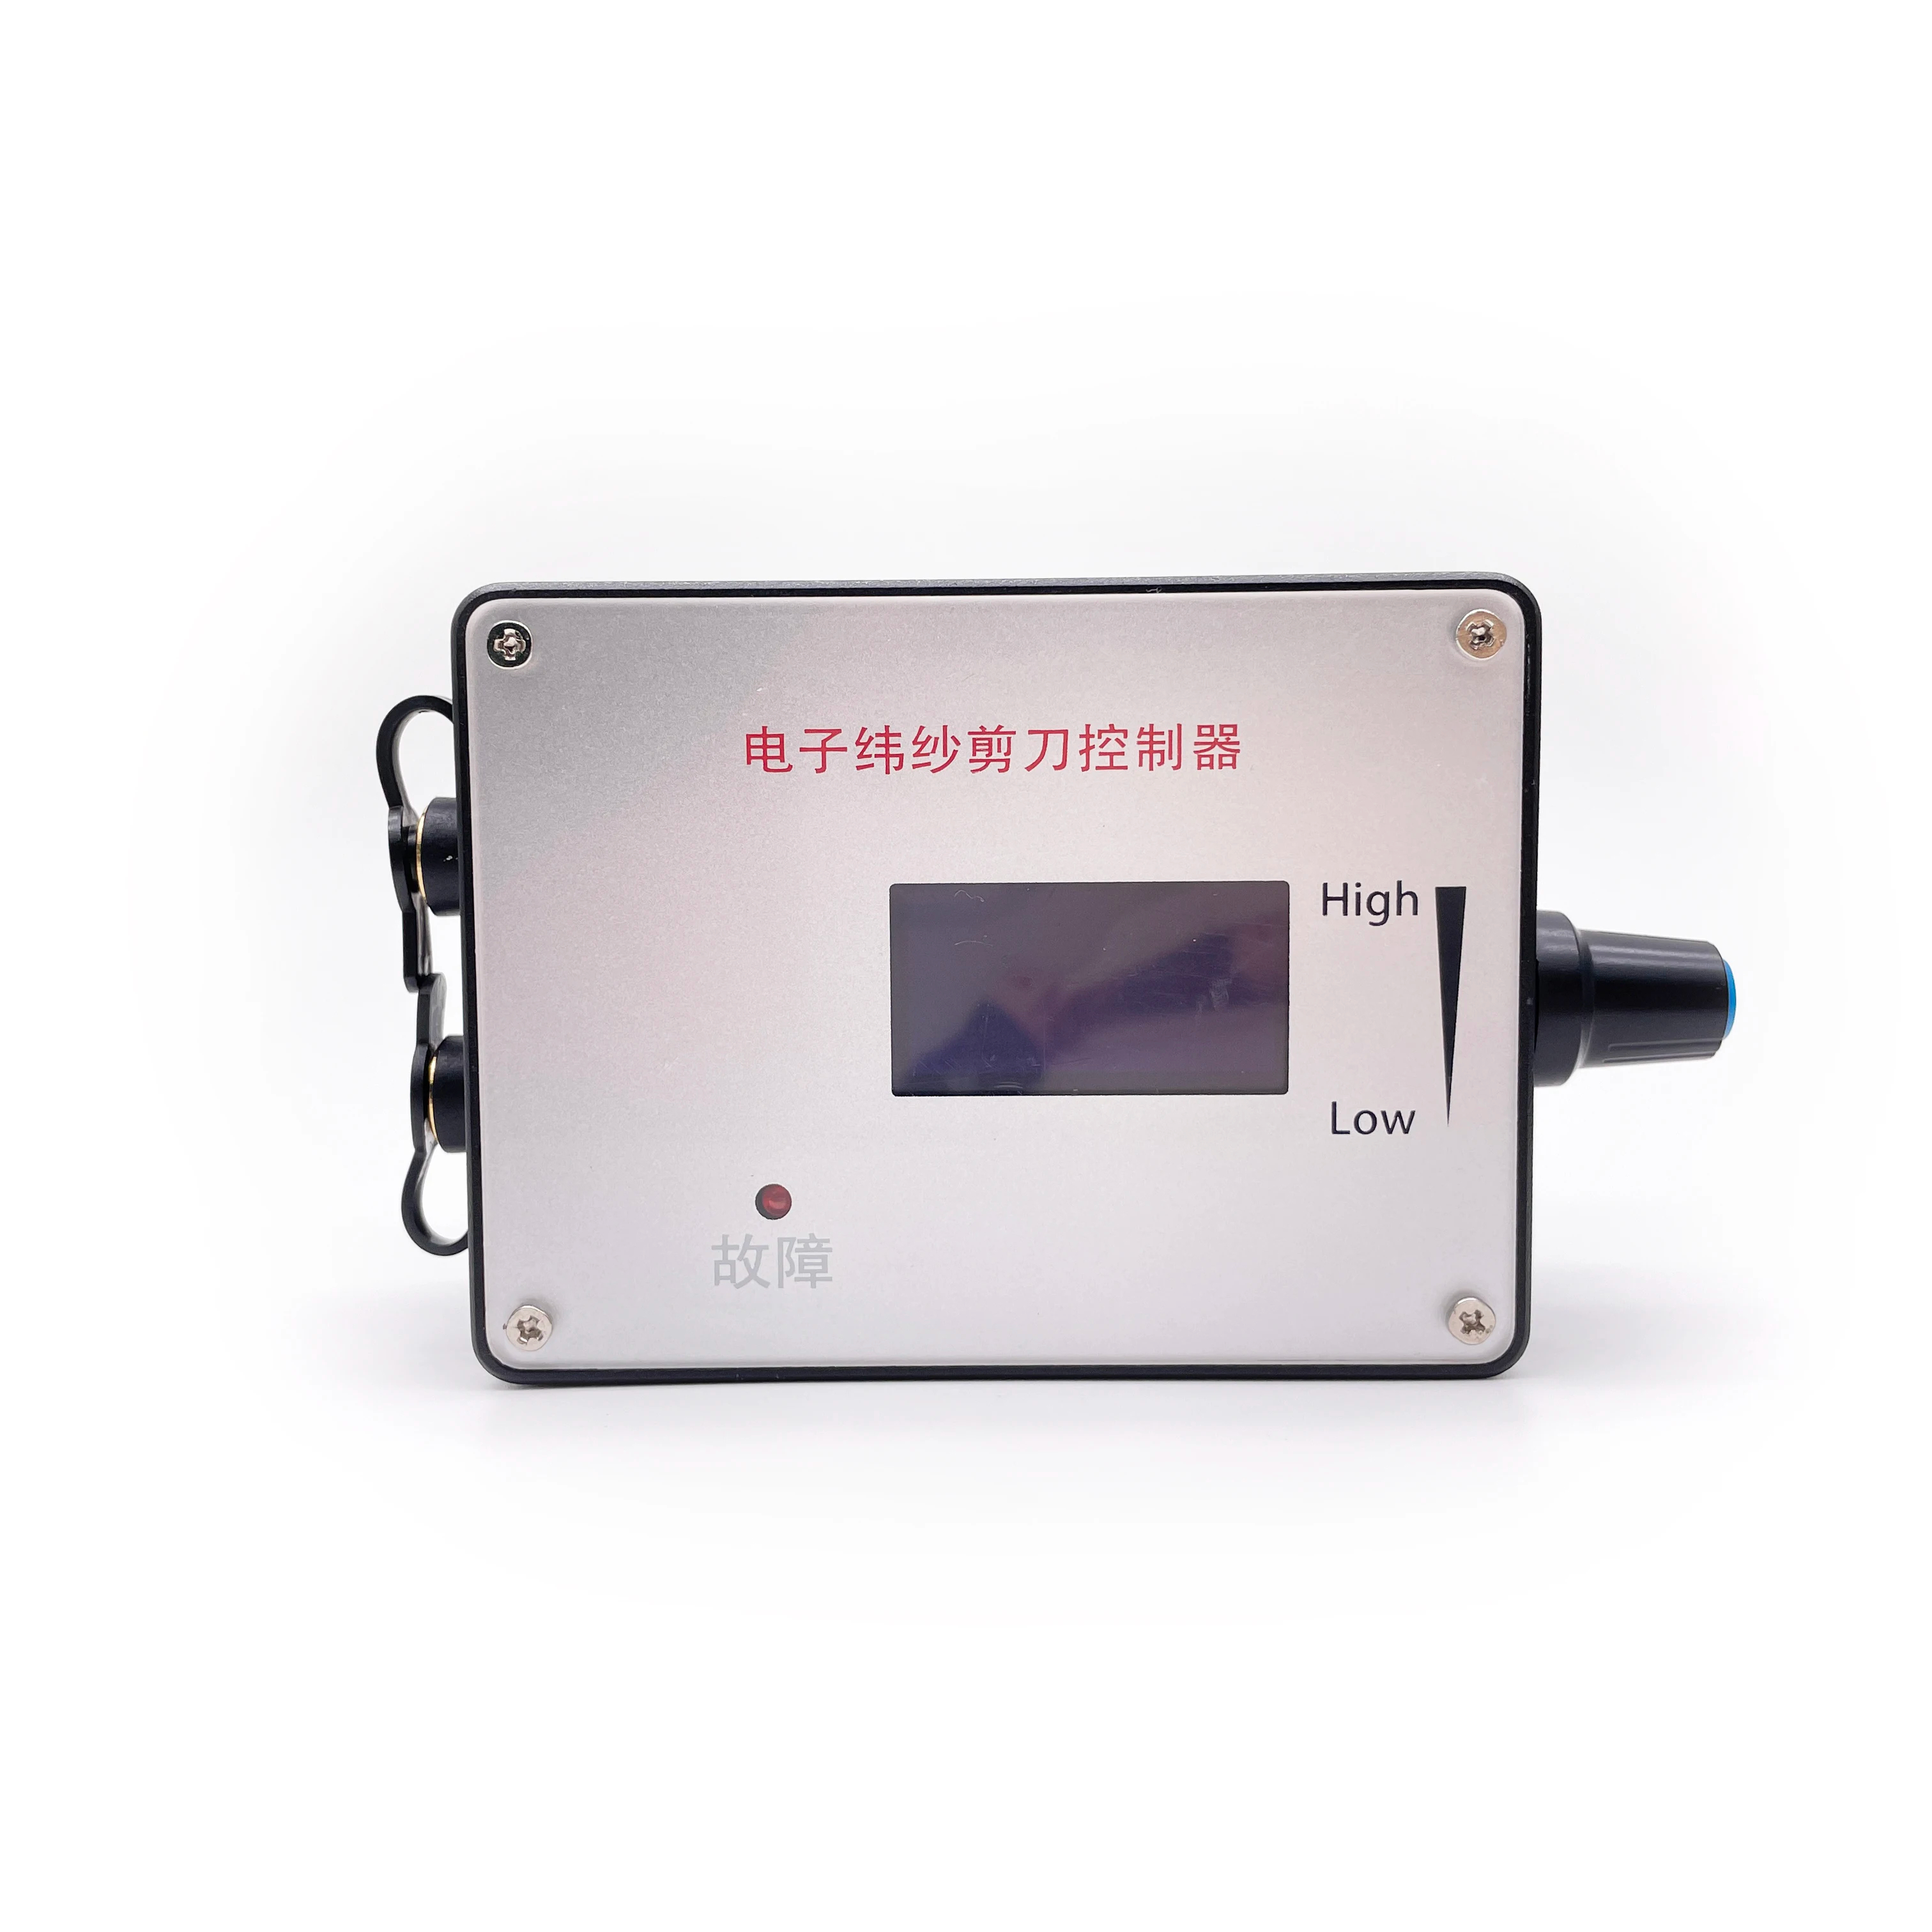
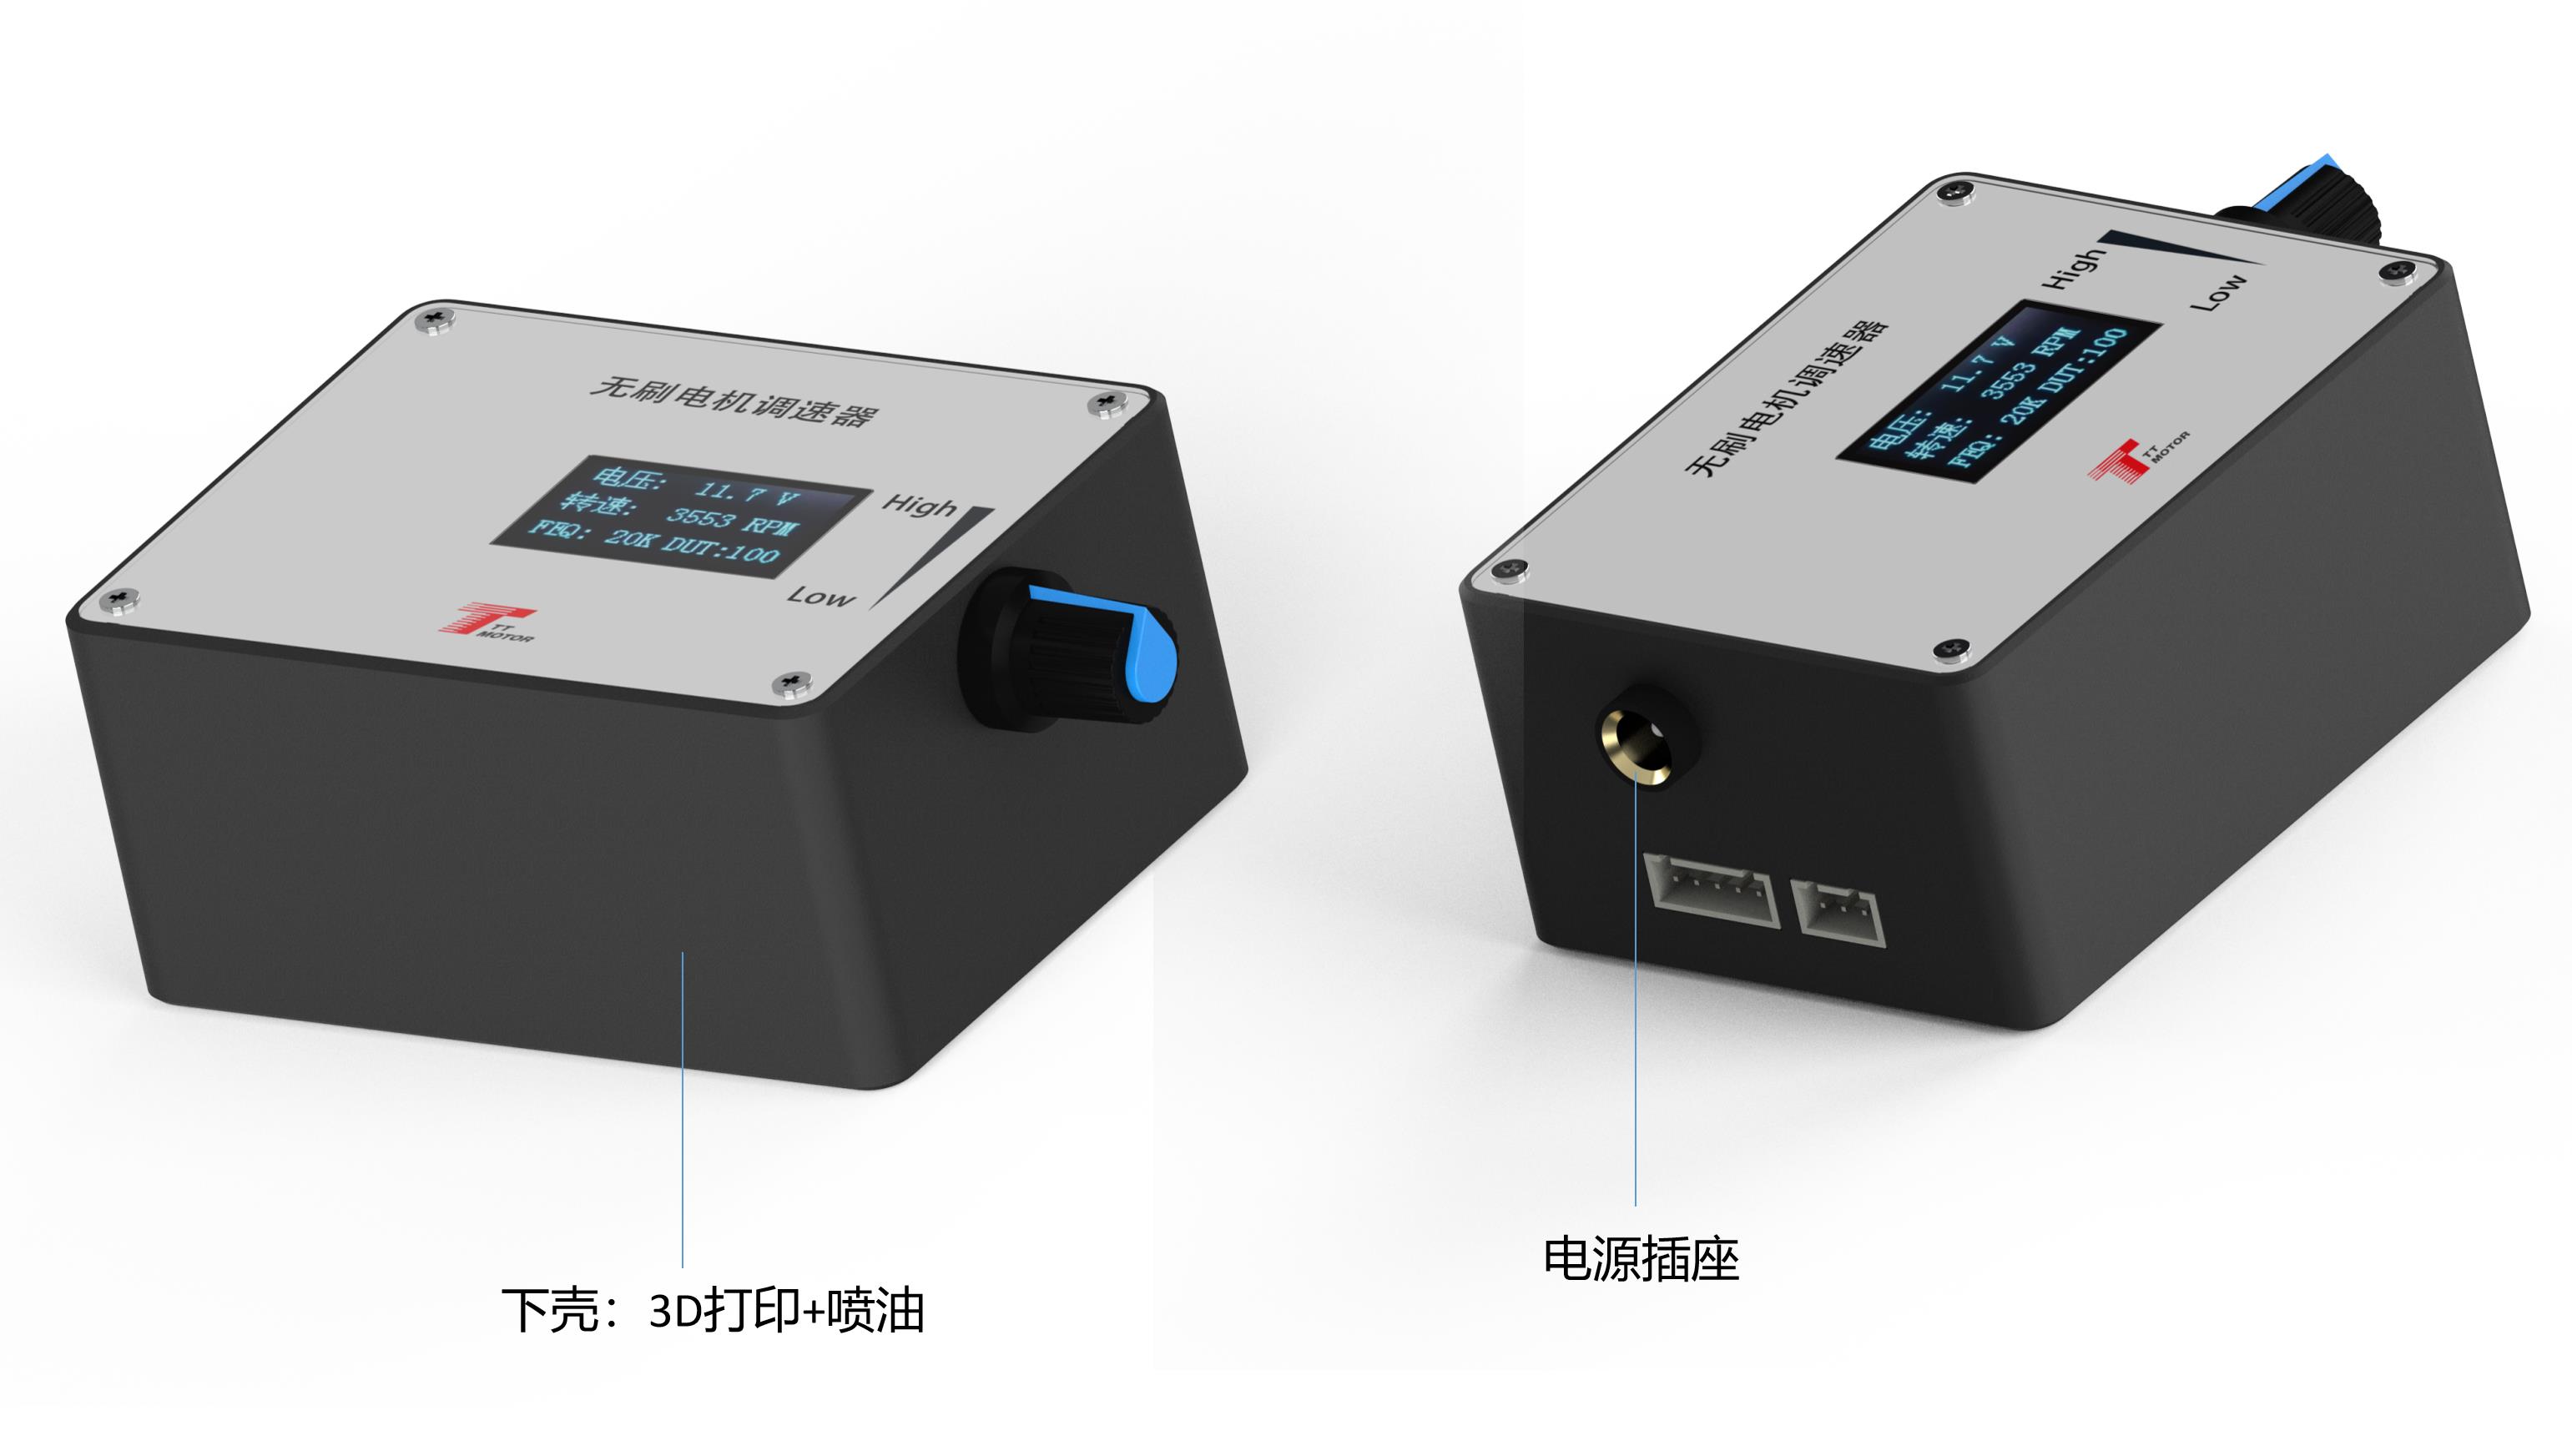
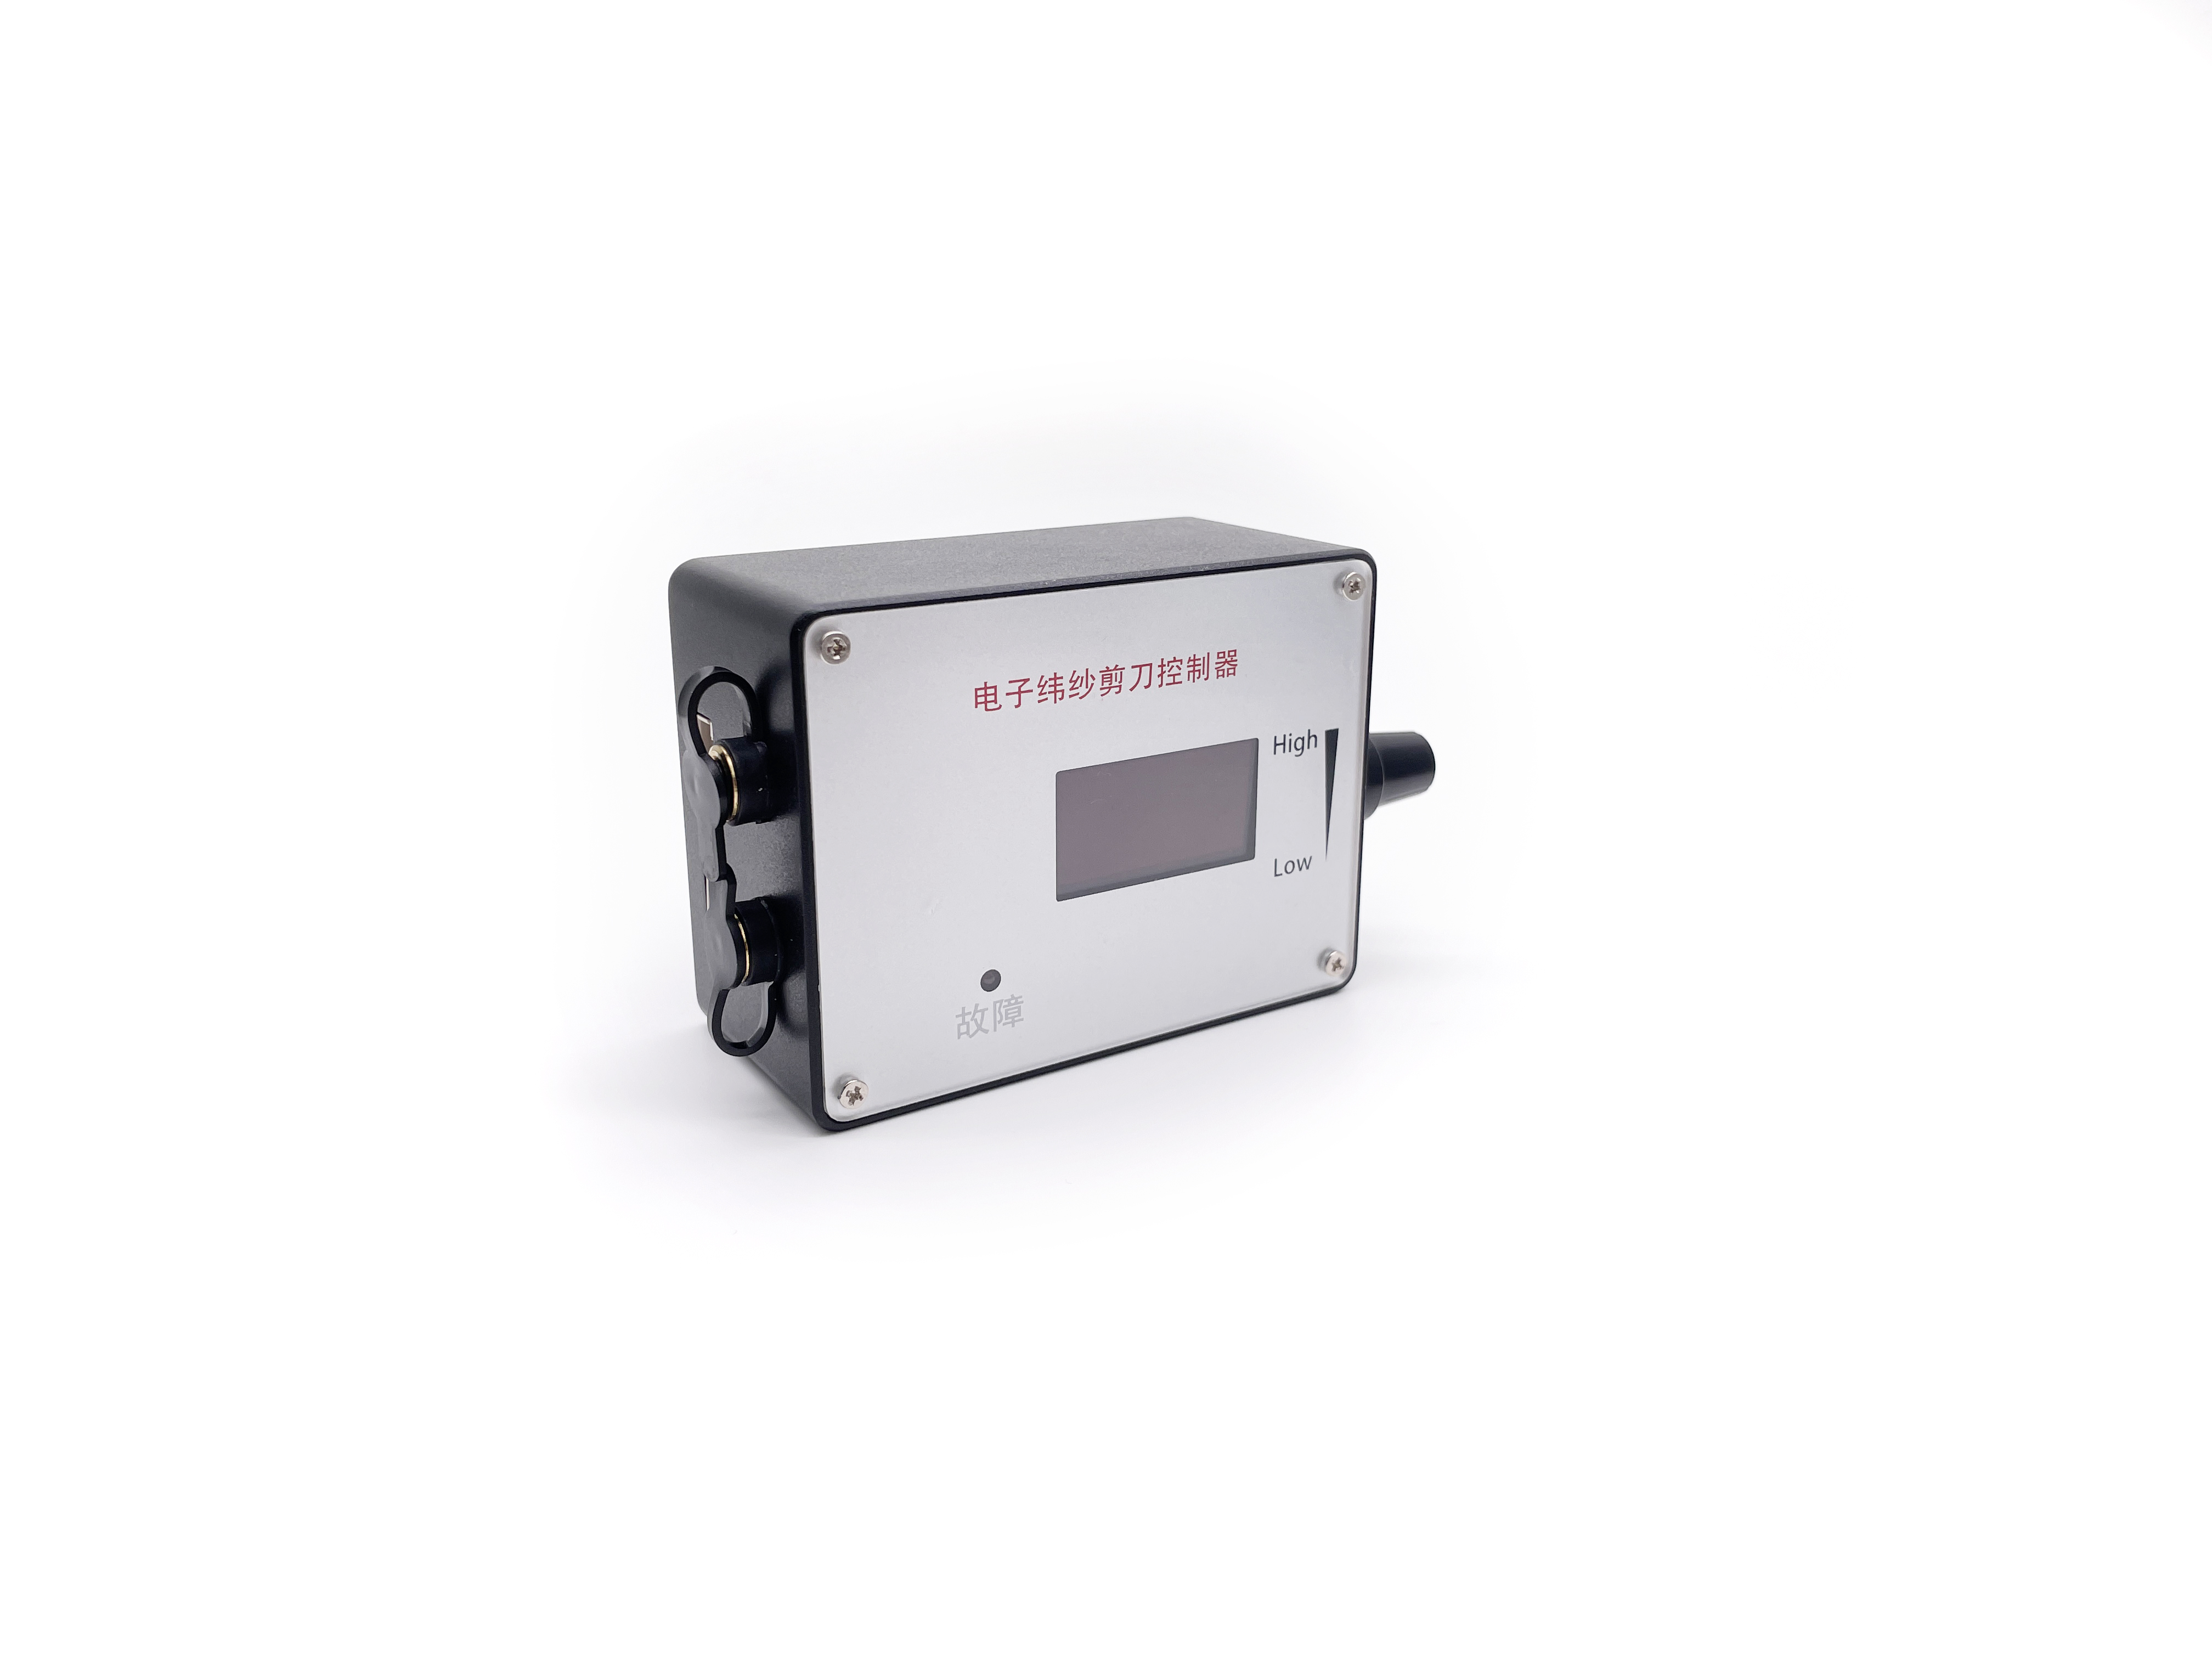
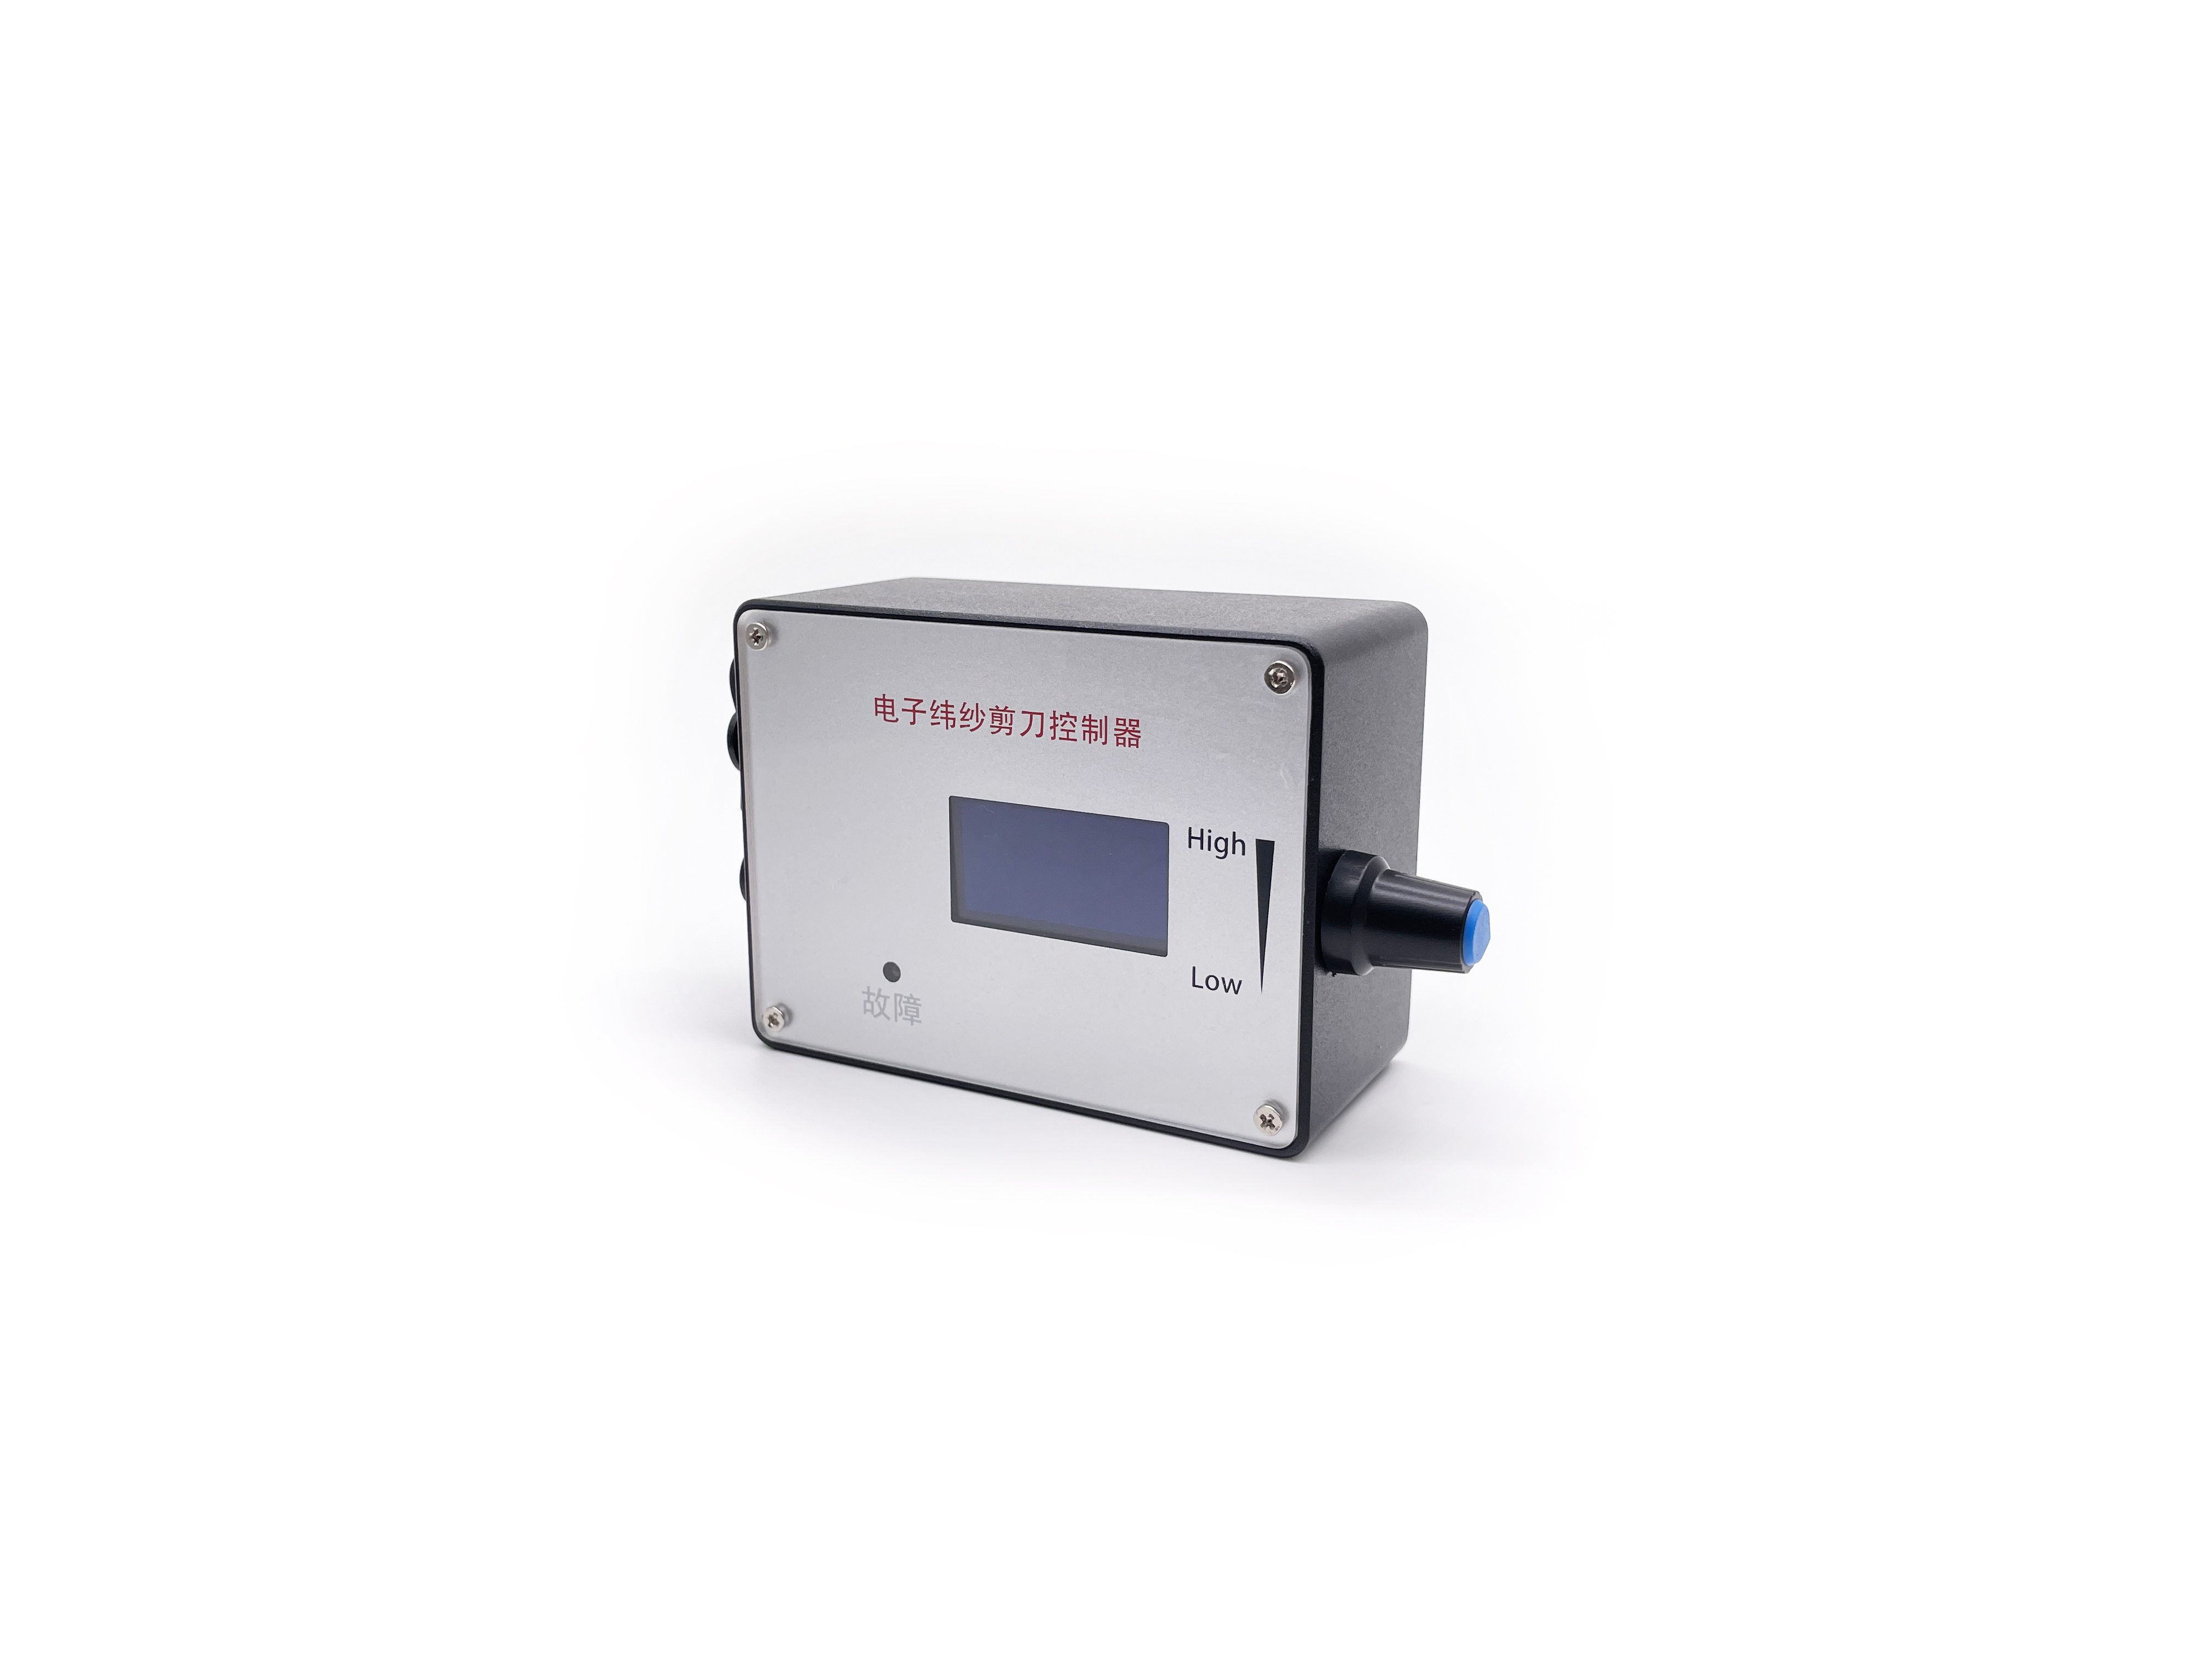
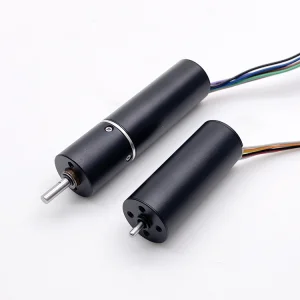
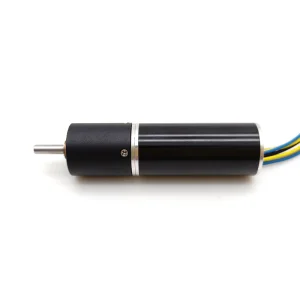
To control a motor with greater current, the motor power line should be directly connected to the power supply, bypassing the governor.
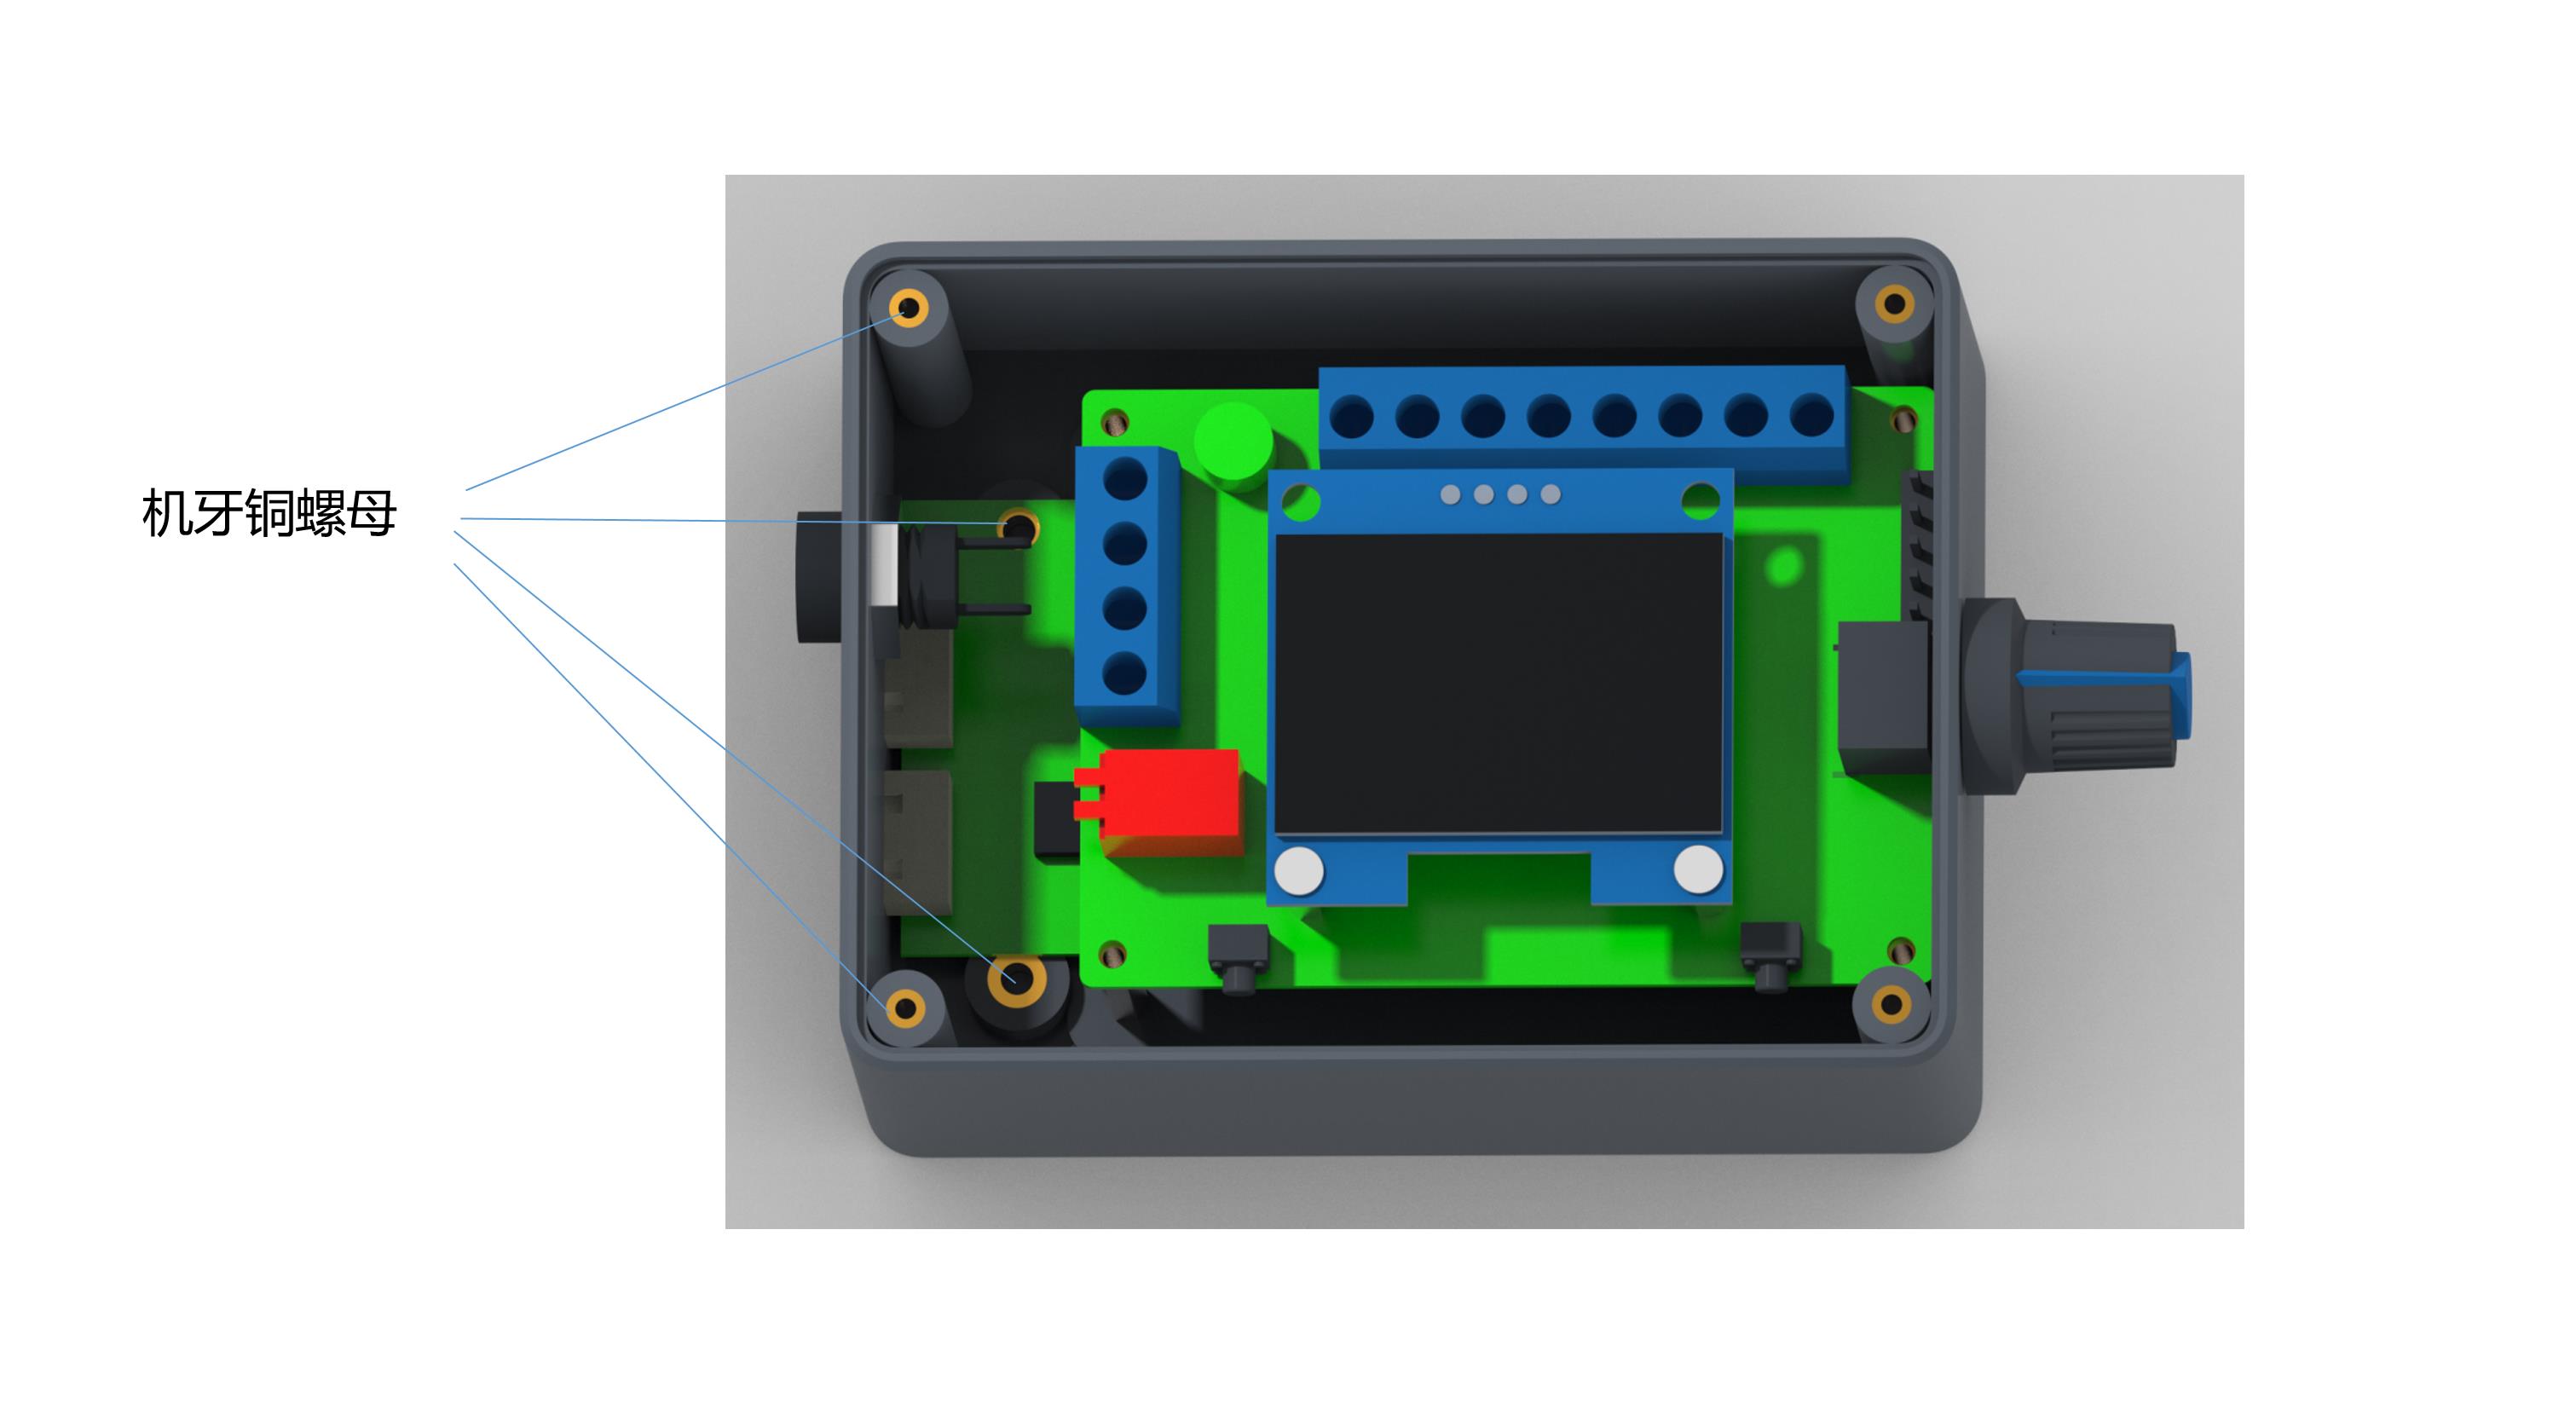
Wiring and Internal Function Description
①
Governor, motor power supply positive input.
②
Governor, motor power input negative.
③
The positive output of the power supply of the motor.
④
Negative output of the power supply of the motor.
⑤
High and low level output of positive and negative rotation control (high level 5V, low level 0V). Controlled by touch switch 2 (F/R); defaults to high level.
⑥
High and low level output of brake control (high level 5V, low level 0V). Controlled by touch switch 1 (BRA); power on default is high level.
⑦
Analog voltage output (0~5V). This interface is suitable for accepting analog voltage speed regulation motor.
⑧
PWM1 reverse output. Suitable for motors accepting PWM speed regulation where speed is inversely proportional to the duty cycle.
⑨
PWM2 forward output. Suitable for motors accepting PWM speed regulation where speed is proportional to the duty cycle.
⑤-⑨
The output signal changes of the three interfaces (⑦, ⑧, ⑨) are adjusted by the potentiometer.
⑩
Motor feedback signal input.
Jumper Cap Settings Note:
FG/FG*3: Should be set based on the actual motor feedback times. Without a jumper cap, it runs a single times FG feedback. With a jumper cap added, it runs 3 times FG*3. CW/CCW: The same configuration principles apply.
Governor Parameter Settings
1. Frequency Setting
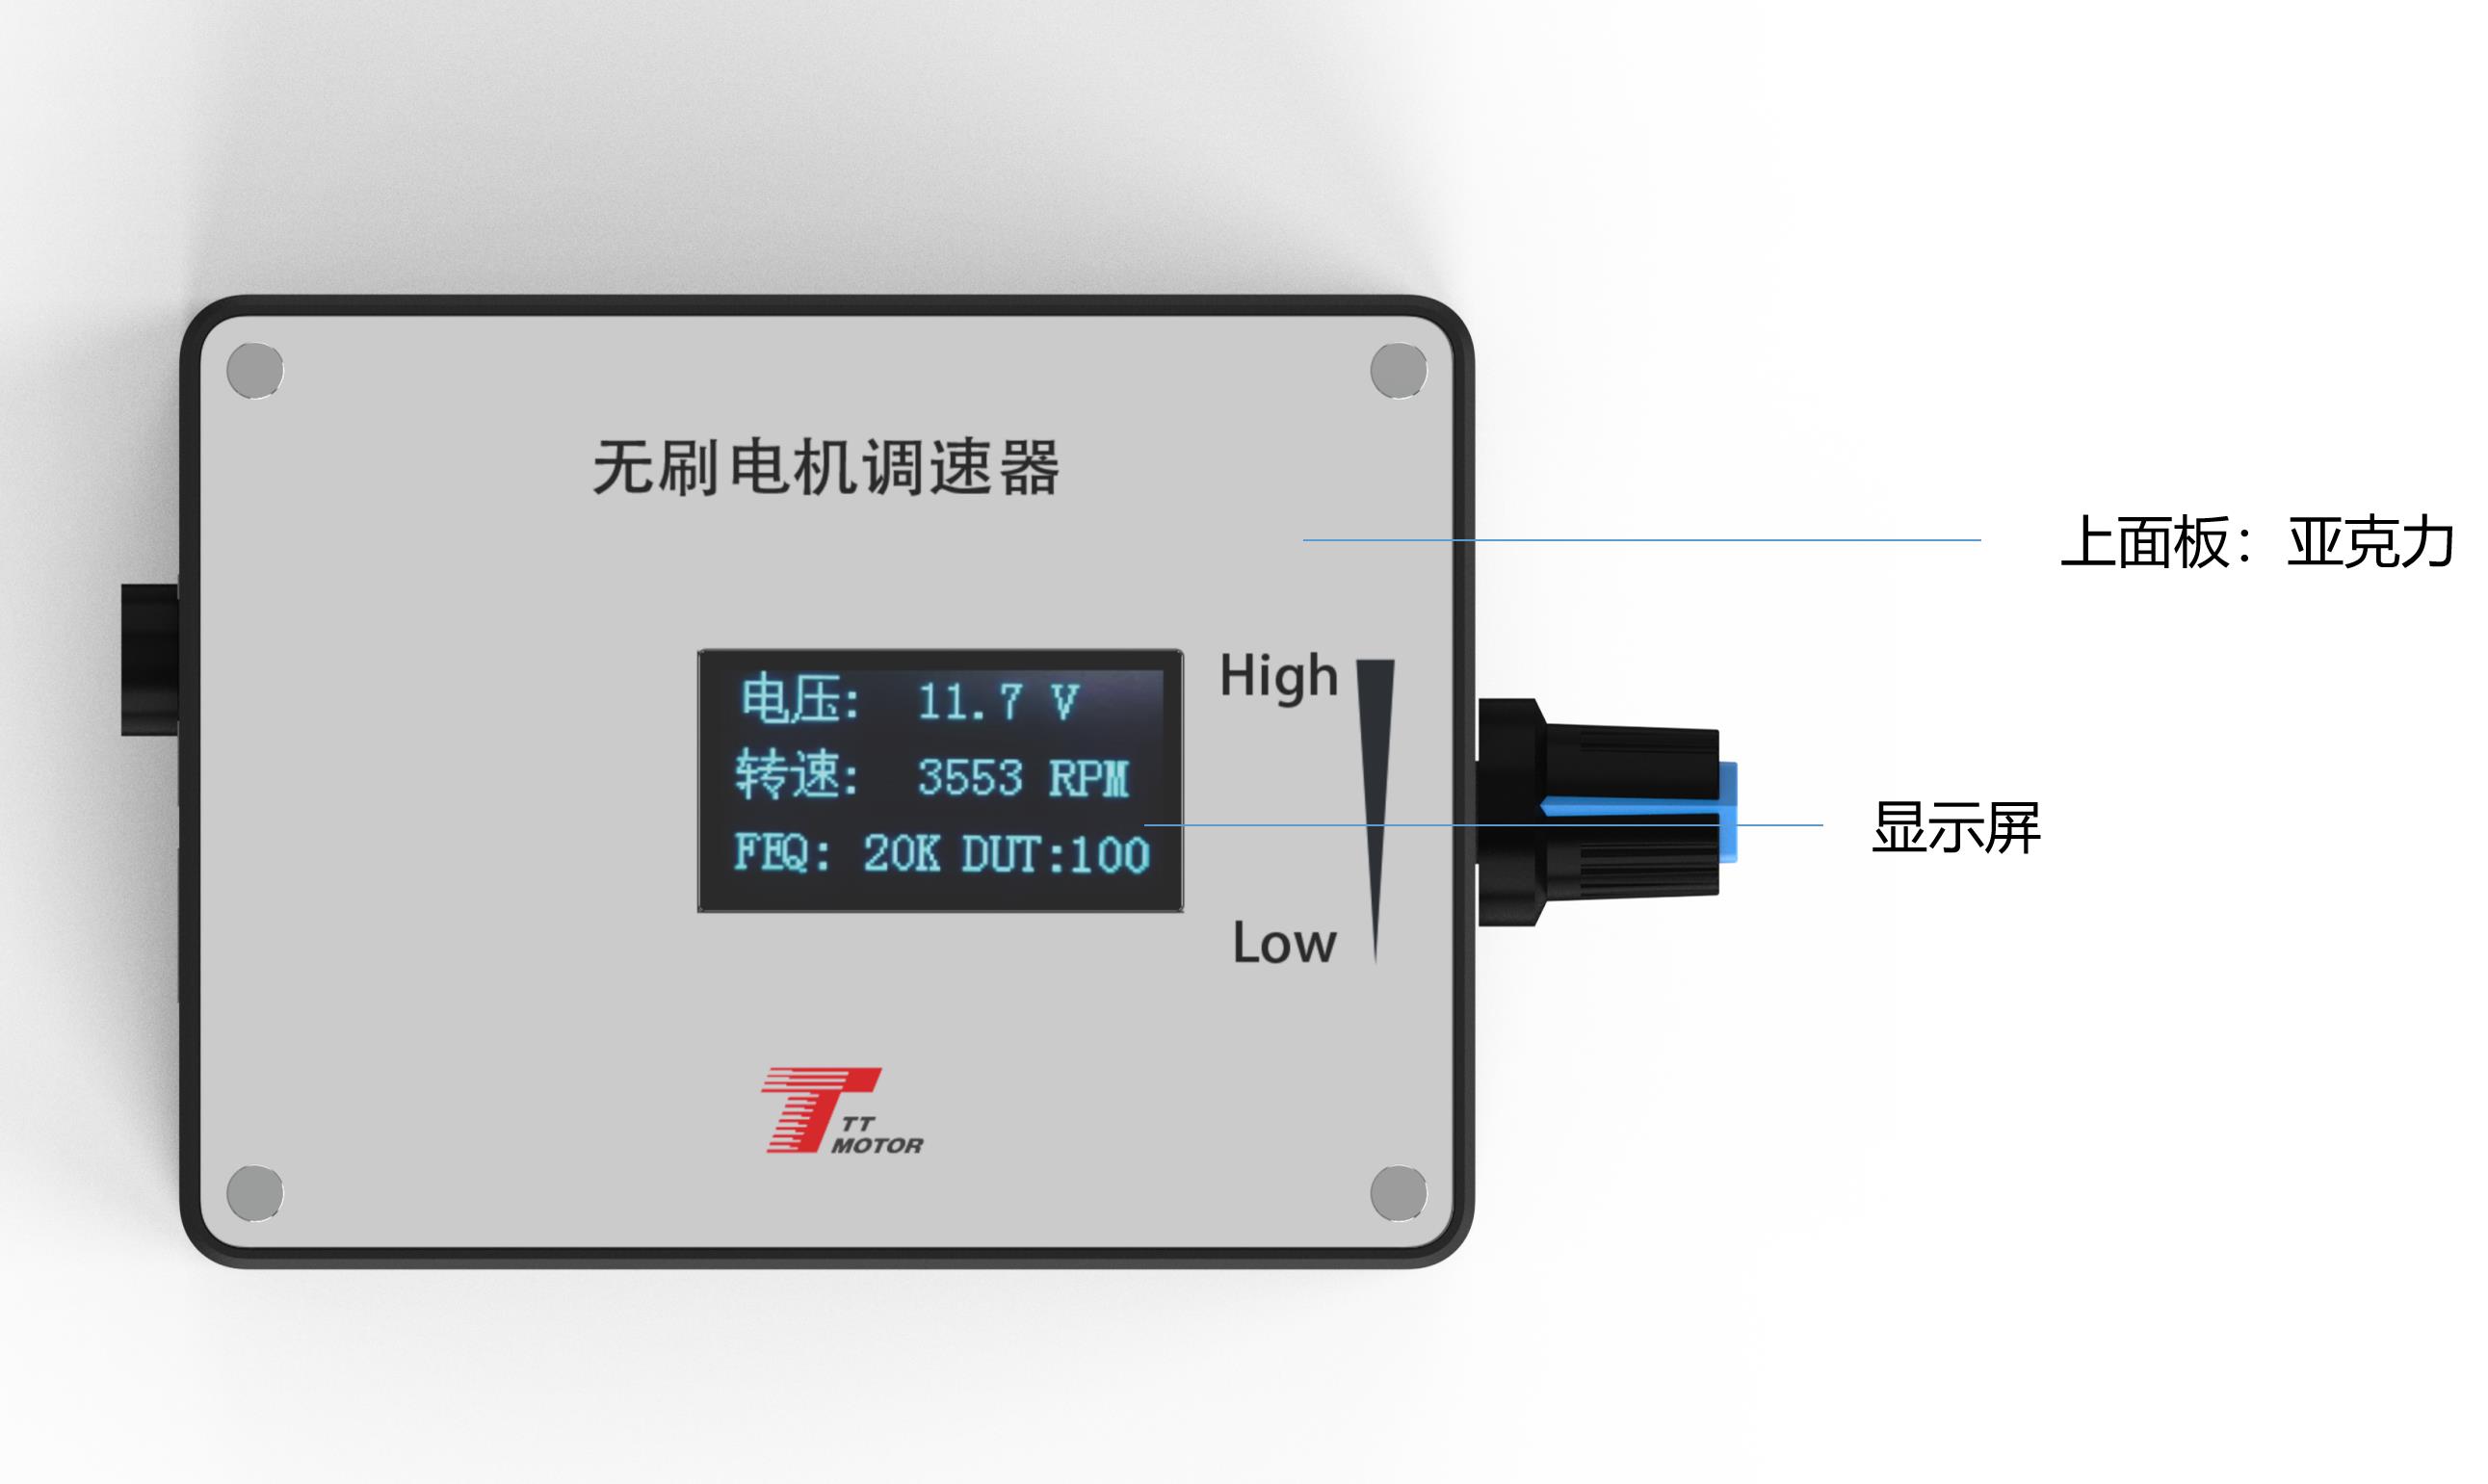
Press and hold touch switch 1 before powering on. Power the governor board and wait until the screen displays "FEQ:20K" before releasing the button. Touch switch 1 to decrease the frequency, and touch switch 2 to increase it. The factory default is 20KHz.
2. Number of Poles Setting
Before powering on, hold down both touch switch 1 and touch switch 2. Power on the board and wait until the screen shows "number of poles: 1 polarity" before releasing. Touch switch 1 to decrease and touch switch 2 to increase. Program the exact pole number designed for the motor. Factory default is 1 pole.
3. Feedback Setting
The FG/FG*3 pin is used as the feedback multiplier. Configure according to whether the motor's feedback is single times FG or three times FG: adding the jumper cap sets it to 3 times FG, while removing the jumper cap defaults to single times FG.
4. Direction Setting
The CW/CCW pin establishes the motor's initial direction state, determined by whether the motor direction control line is suspended. CCW is active with the skip cap added; CW is active without the skip cap.
Main Screen Display parameters:
The primary interface screen displays four main metrics: Input Voltage, Speed, Frequency, and Duty Cycle. The speed requires proper configuration of the feedback multiplier (FG/FG*3) and the pole count to display correctly.
Governor Precautions & Safety
⚠️ Critical Warning
The positive and negative power supply connections of the governor must be connected in strict accordance with the instructions. Do not reverse the connections, otherwise the governor will not function and will burn out.
• The governor must be utilized only to match motors containing the specified control interfaces.
• The five ports (⑤ to ⑨) must not access a voltage exceeding 5V.
Frequently Asked Questions (FAQ)
Q1: What is the operating voltage range of this motor speed governor?
A1: The governor operates within a DC voltage range of 5V to 28V.
Q2: How can I control a motor that requires more than the 2A rated current?
A2: For motors with an operating current greater than 2A, the motor power line must be connected directly to the power supply rather than passing through the governor.
Q3: How do I adjust the PWM output frequency?
A3: Press and hold touch switch 1 before powering on, then release the button when "FEQ:20K" displays on the screen. Press touch switch 1 to decrease the frequency, or touch switch 2 to increase it (factory default is 20KHz).
Q4: How do the FG/FG*3 jumper settings affect feedback display?
A4: The FG/FG*3 pin sets the feedback multiplier. If no jumper cap is added, the governor runs on a single times FG feedback. If the jumper cap is added, the feedback rate is tripled (3 times FG*3). This parameter must be set correctly for accurate speed readings.
Q5: What happens if I reverse the positive and negative power supply connections?
A5: Reversing the power connection polarity will cause the governor to fail to operate and will burn the unit. Always ensure the wiring conforms strictly to the instructions.
Q6: What is the maximum voltage permitted on the control ports?
A6: Control ports ⑤ through ⑨ (including F/R, BRA, Analog voltage, PWM1, and PWM2 outputs) cannot accept any voltage input that exceeds 5V.